The lolita discord I’m in started organizing crafting weeks, where one may repair an item, or focus on a crafting project. I first repaired a couple of things, but then I kept wanting to participate, and so I decided to order an embroidery kit and see if I could actually do it.
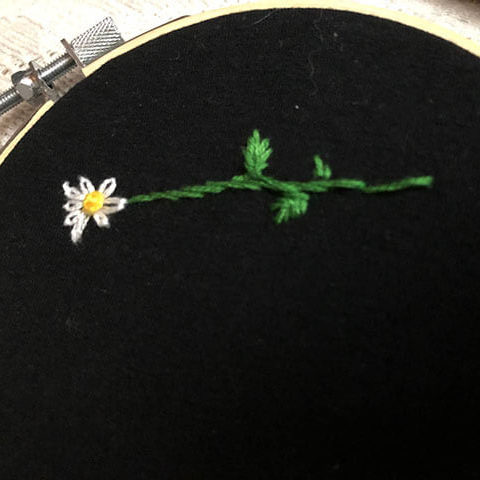
So I started watching videos on youtube about the basic stitches, and here is my very first poor attempt, where you can even notice how I began figuring out the stitch from the bottom of the flower going up, and how it gradually improves, but it’s still kind of poor:
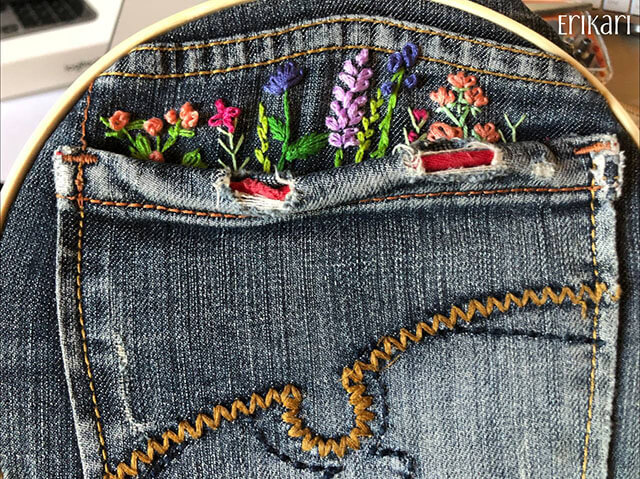
I saw a cute post on twitter and decided I’d try to embroider some random flowers peeking out of a pocket to try several stitches on an old pair of jeans. The result was much more satisfying this time!
The first crafting week ended, but at this point I kept thinking about how to apply this to lolita. And that’s where I decided I wanted to make a tote bag!
Lolita fashion bags are super cute, but they usually are much too small to carry even an umbrella or a cardigan. I already had to use tote bags for this, but the ones I have are old, crumpled and don’t match the colors of what I wear. I pitched the idea to my awesome grandma, who a week later came back with some fabric – we call the last pieces of a fabric “scampoli”, I don’t know what’s in English. And I bought an inner lining I liked and began planning on a design.
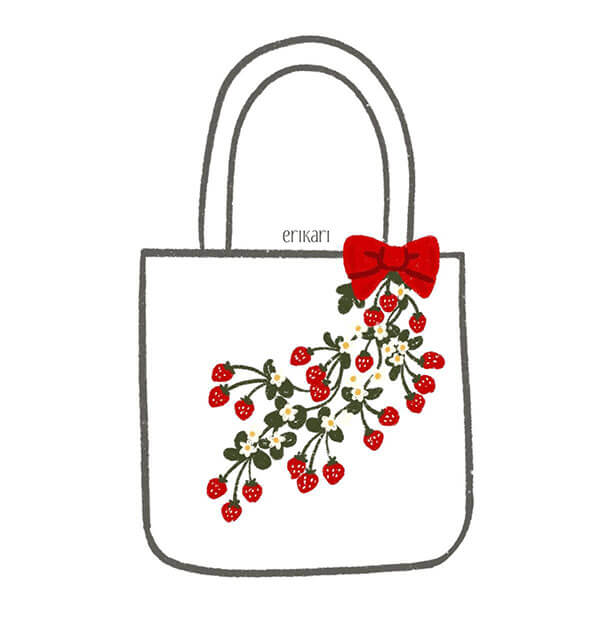
I knew I wanted to have red in it for sure, and possibly some plants since I learned how to embroider leaves and flowers. So I sketched several designs on Procreate, and this one was my favorite, featuring lots of strawberries in sinuous lines starting from one of the handles:
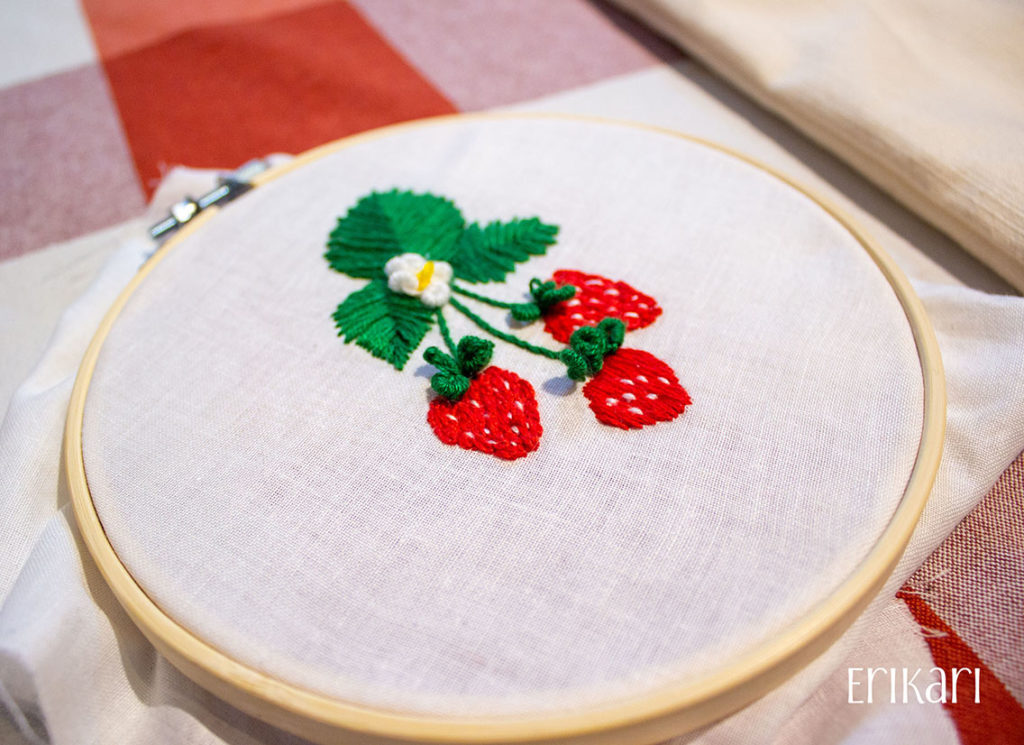
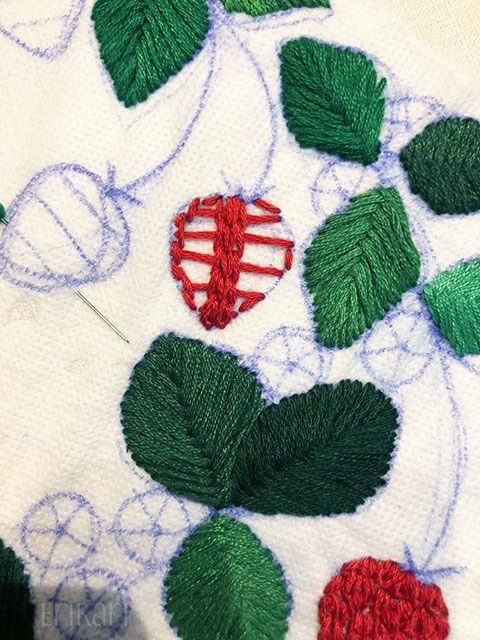
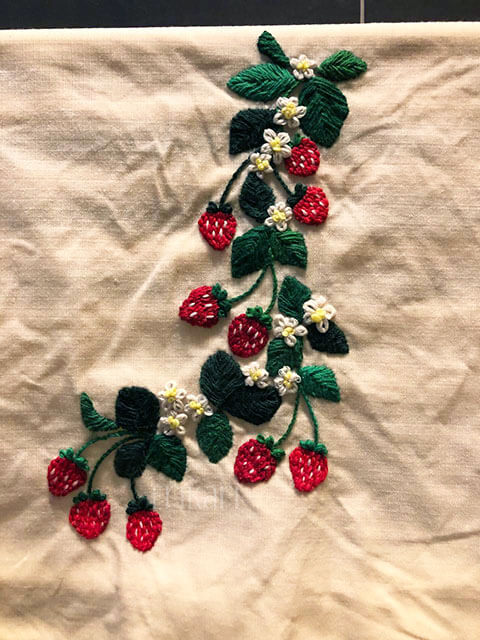
I wanted to test how to make the strawberries first, because I wasn’t sure about the technique to use, so I tried several on a piece of cotton first. I tried the lazy daisy, and the satin stitch. I also tried to use the buillon stitch for the leaves and the flower. While the satin stitch is easy to do, I don’t like it very much as it doesn’t quite remind me of the surface of a strawberry as the lazy daisy one, which is bumpier, but the lazy daisy one takes forever to make and it’s also kind of uneven. So I wasn’t quite sure about what to do but at least I got a general idea and the end result was still acceptable. In this I also used only half of the strands, but this makes sewing leaves take forever, and same for the strawberries, so I decided that in the actual project I’d leave the big chunky strand and call it a day.
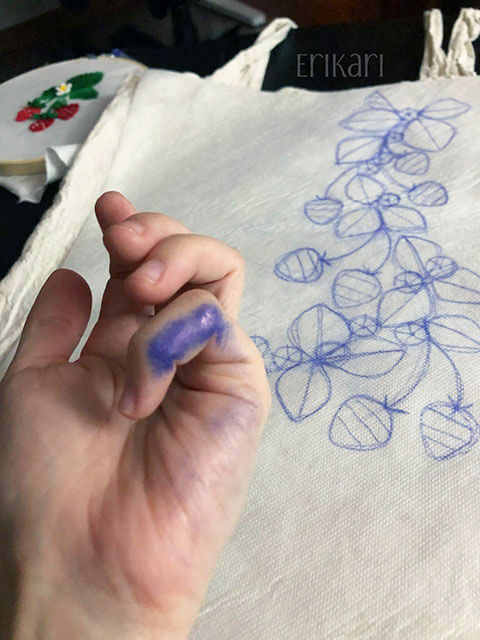
I bought a stabilizer base, and when the following crafting week was announced, I started actually sketching the design. I got my hand all dirty from the ink, it felt like going back to elementary school! (note: please don’t be like me and get proper tools for this or the ink will transfer to the garment after washing out the stabilizer) I decided to cut down on the number of strawberries and flowers and everything since it takes so long to sew each item, and I simplified the design a bit.
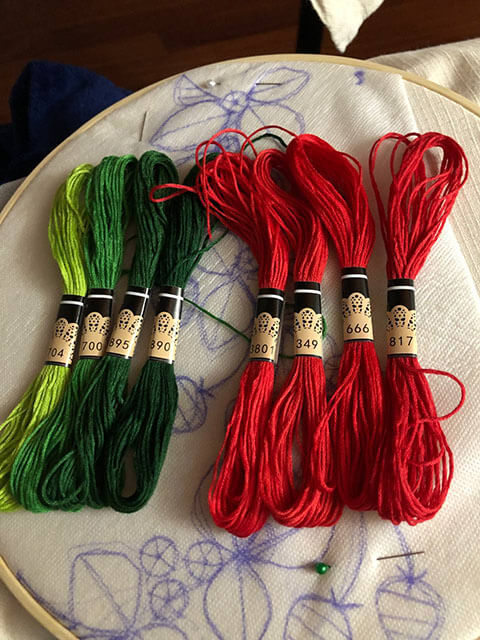
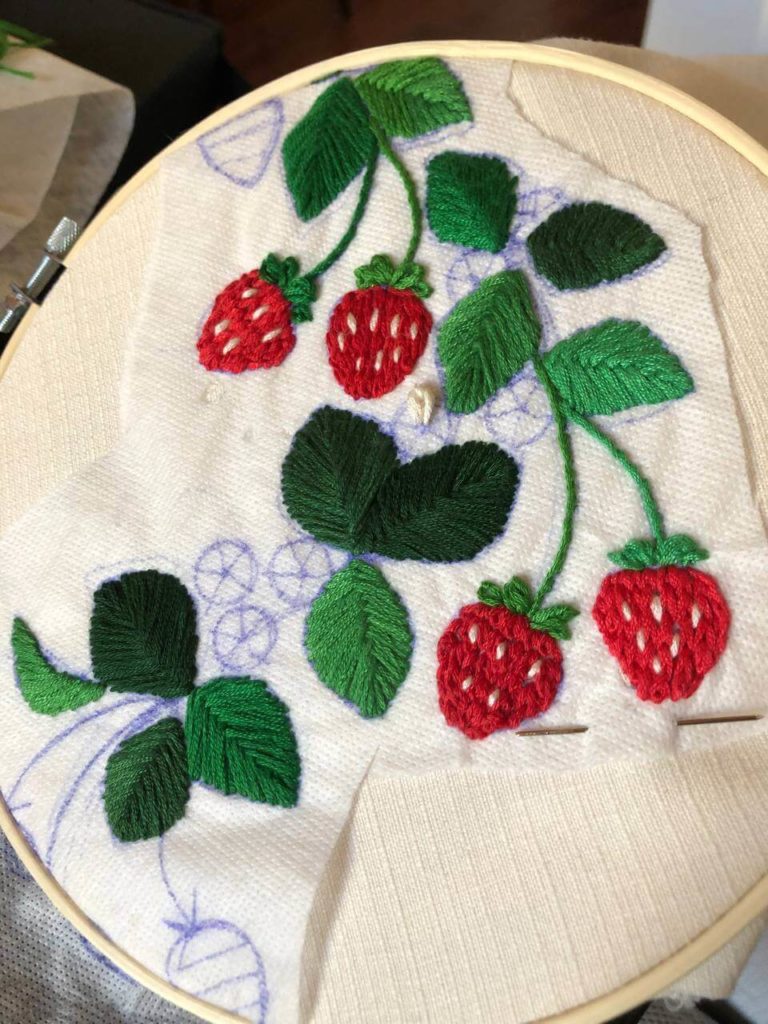
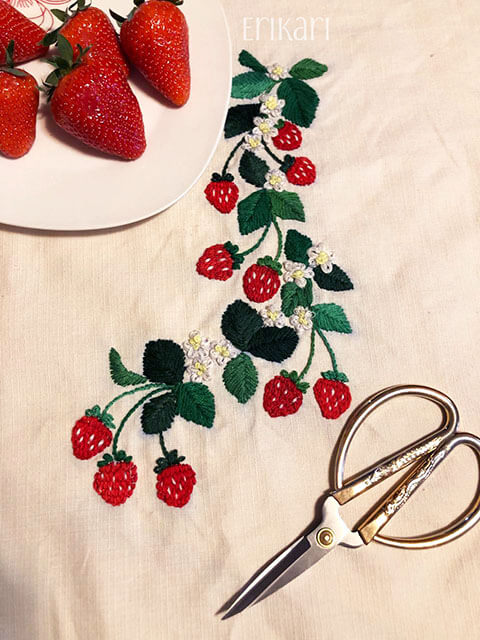
All was ready for the new crafting week! I selected some colors and started sewing the leaves, and doing some work every evening after dinner. I also used ecru instead of white, and a very light yellow for the flower center. I used the fishbone technique for the leaves, but I also tried to save thread so I had two strands alternating for each side.
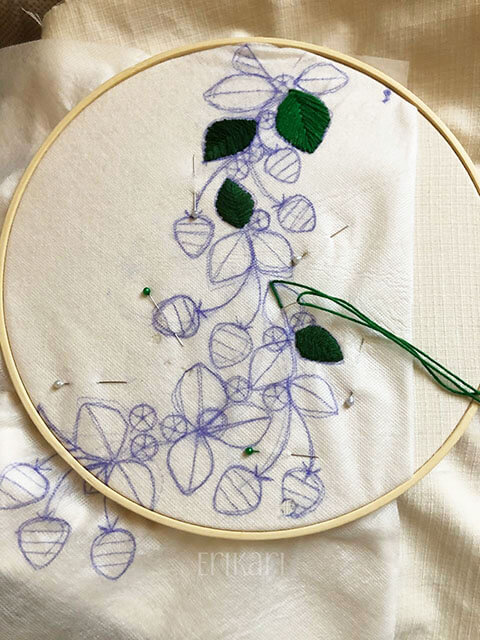
I did all of the leaves first, then moved on to the strawberries and stems, and I did the flowers last, so that I could pin them on top of other elements and make them pop out more. I recommend starting from the yellow center and then doing the leaves, as I tried doing the opposite and the result tendend to be uneven.
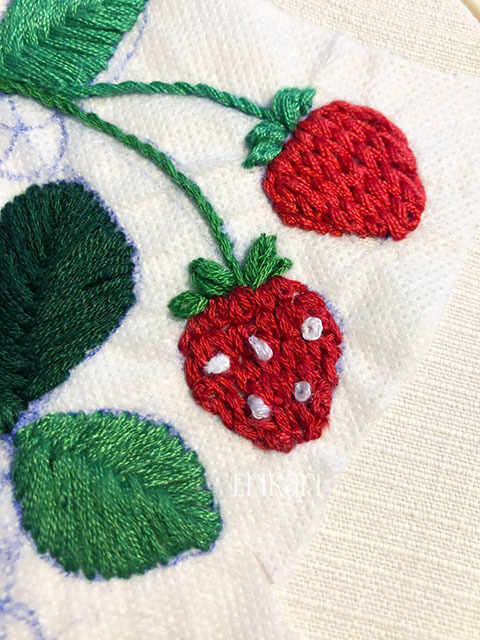
I also tried to do the seeds using white and French knots, but I didn’t like the result so I tore that away and redid it.
I ended up using chain stitches to fill the strawberries, back stitches for the stems, lazy daisies for the leaves of the strawberries.
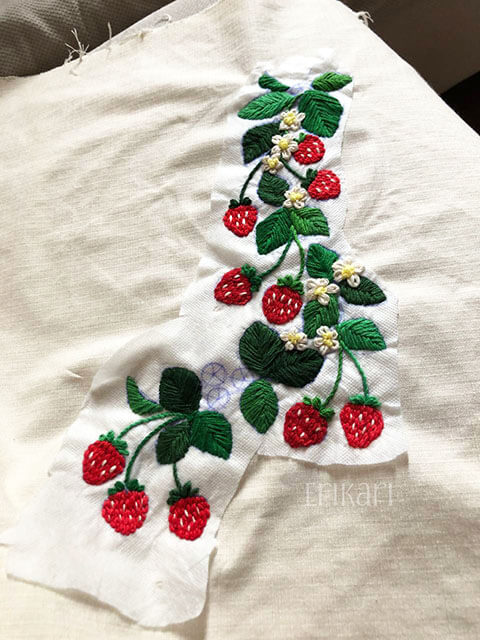
I also switched to the lazy daisy but with additional thread passes for the flowers, and kept the French knots for the yellow parts. This part took around 20 hours over the course of a week. Once I was done, I washed the embroidery to make the stabilizer melt away!
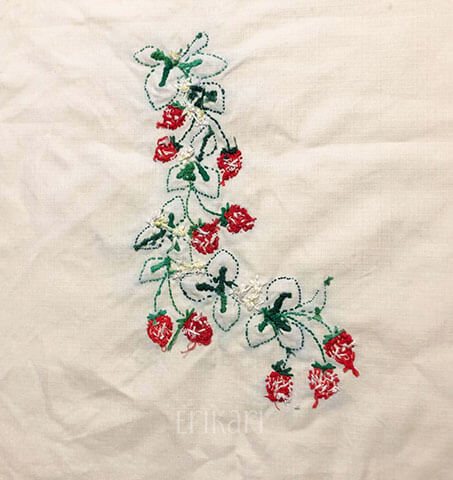
In case you’re curious, here’s how the back of the embroidery looked like:
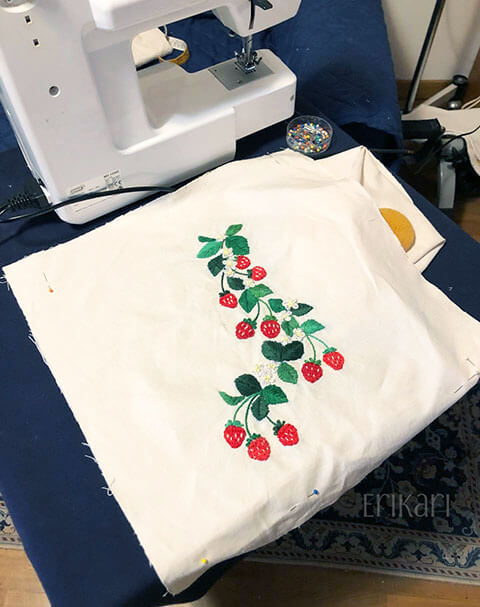
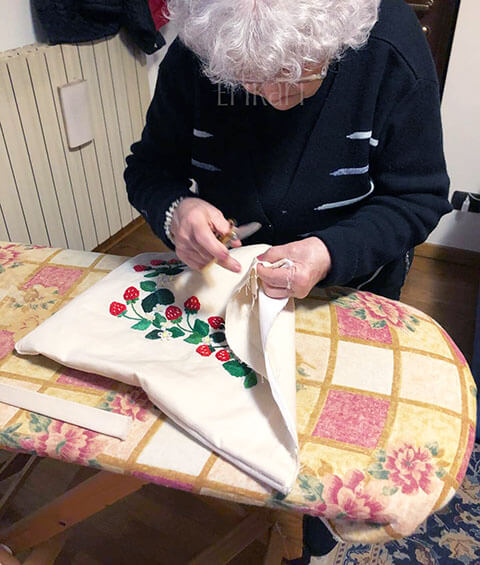
The next day, I went at my grandma’s place with all of the fabric and the embroidery, plus a tote bag for reference. I also watched a neat DIY Tote bag tutorial which was very helpful. My grandma has a sewing machine, so cutting and sewing was definitely faster! This part took 2 hours and a half, plus some strawberry eating in the middle. We had some troubles with the strata of fabric because all chunked together it was rather heavy, but it all worked out in the end. My grandma is the best! We used the video and the other tote bag as reference. Overall the dimensions were 45 x 42m, and there were roughly 4cm of seam allowance on all sides, except for the top which had a bit more – the video explains it better than me – for the main part of the bag. The straps were 60cm * 8cm each.
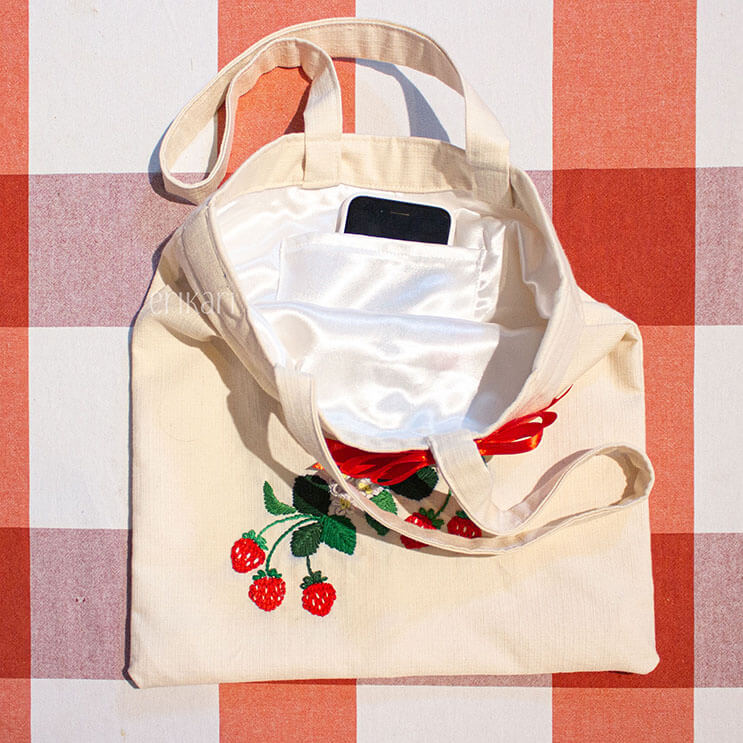
I also insisted on sewing the pocket for the phone, placed on the opposite side of the design so it’s more secure, closer to the body.
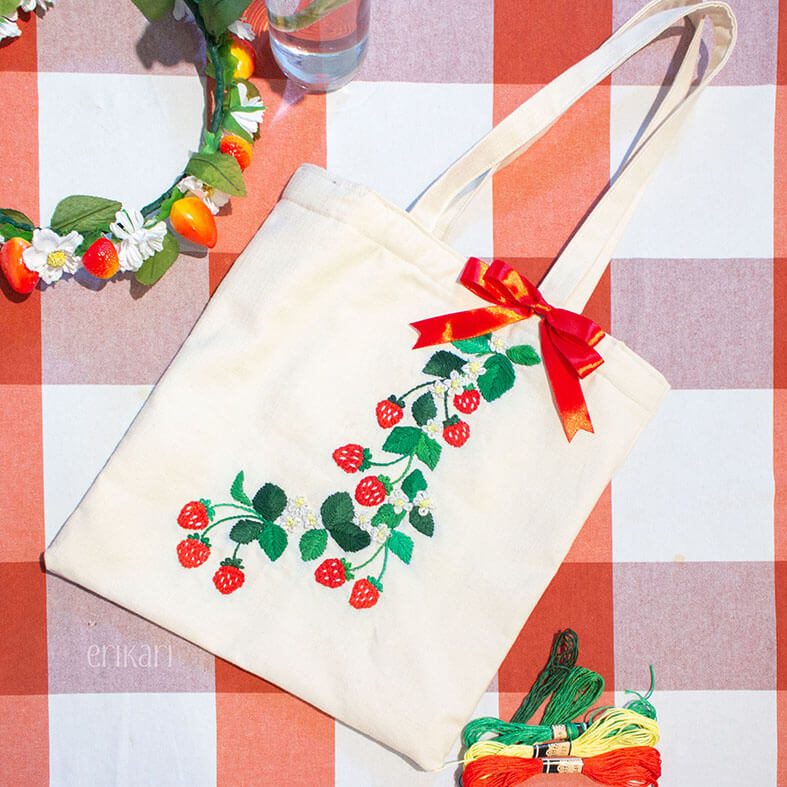
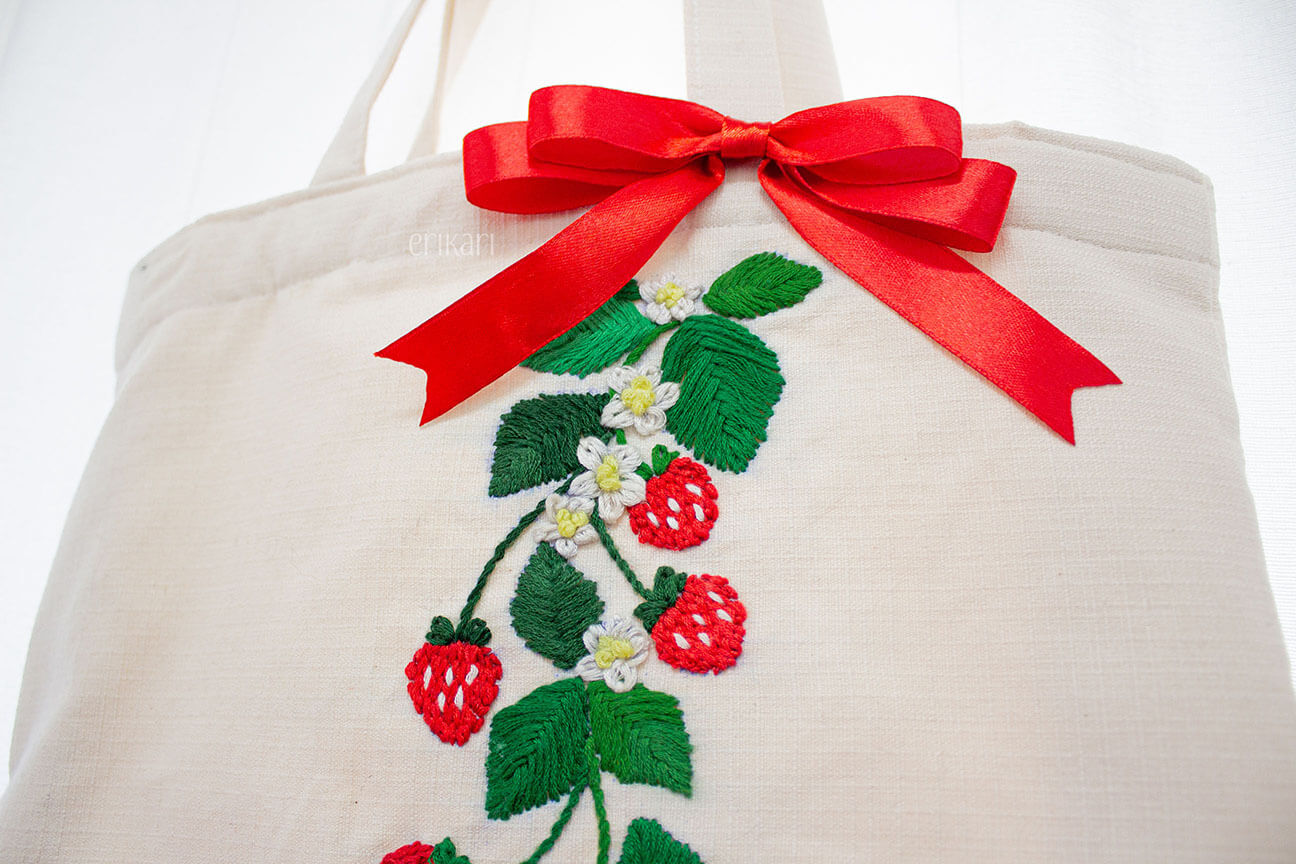
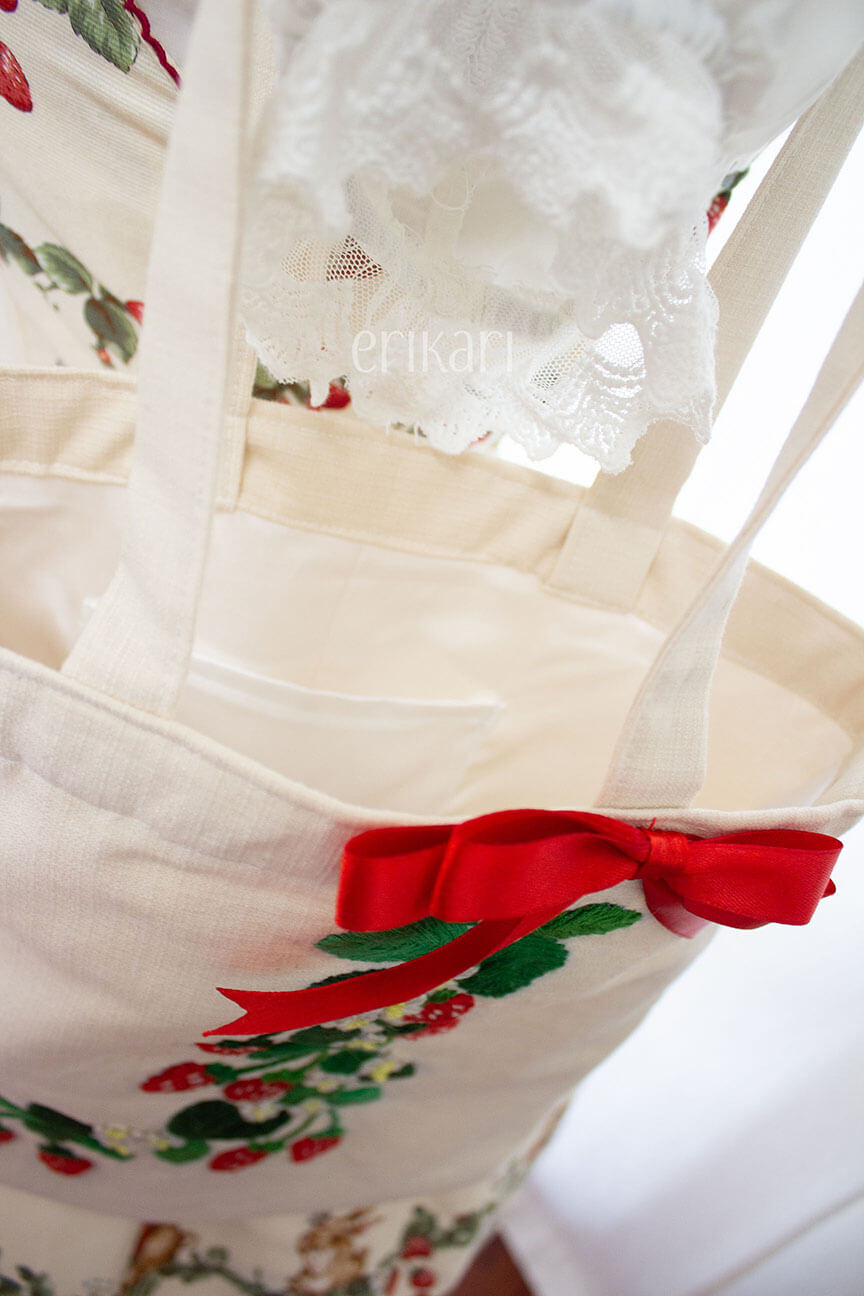
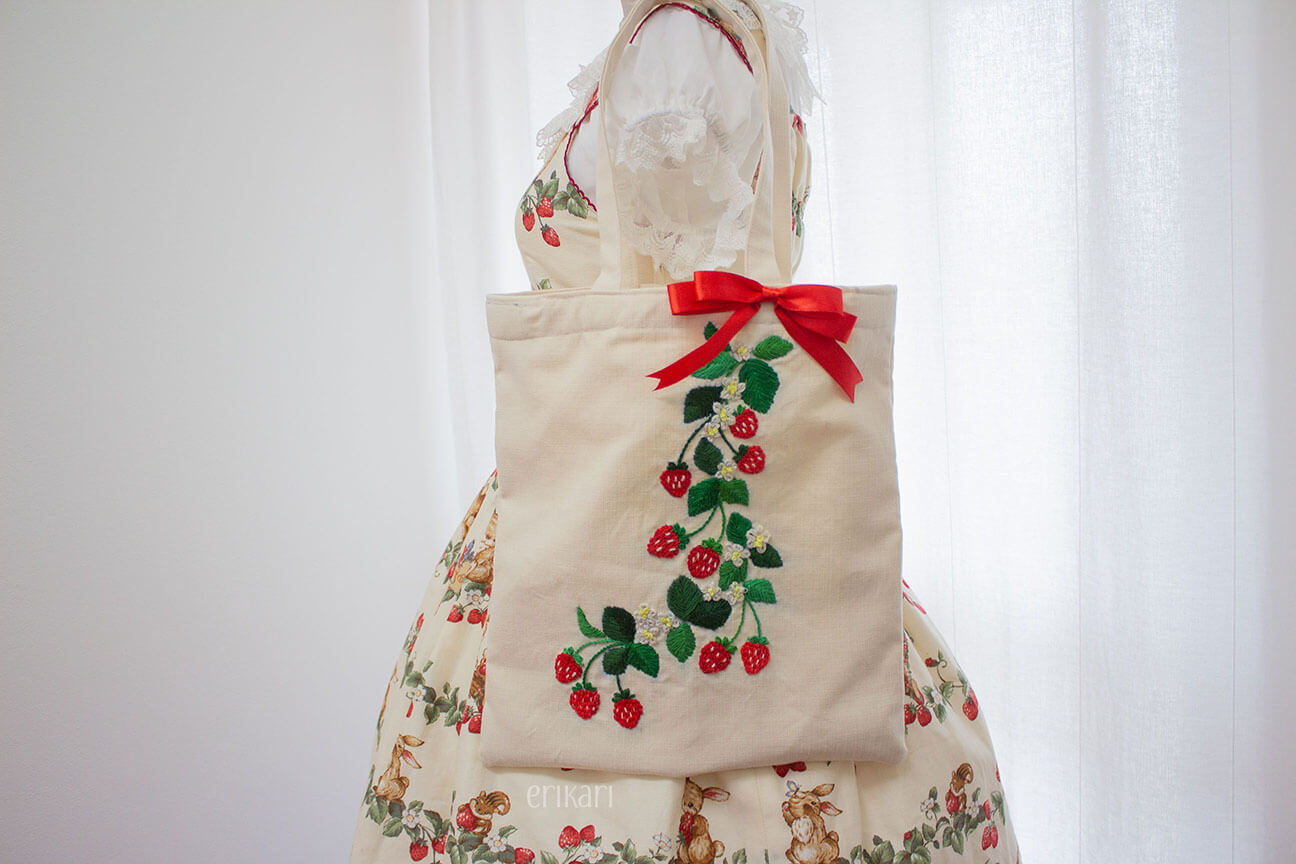
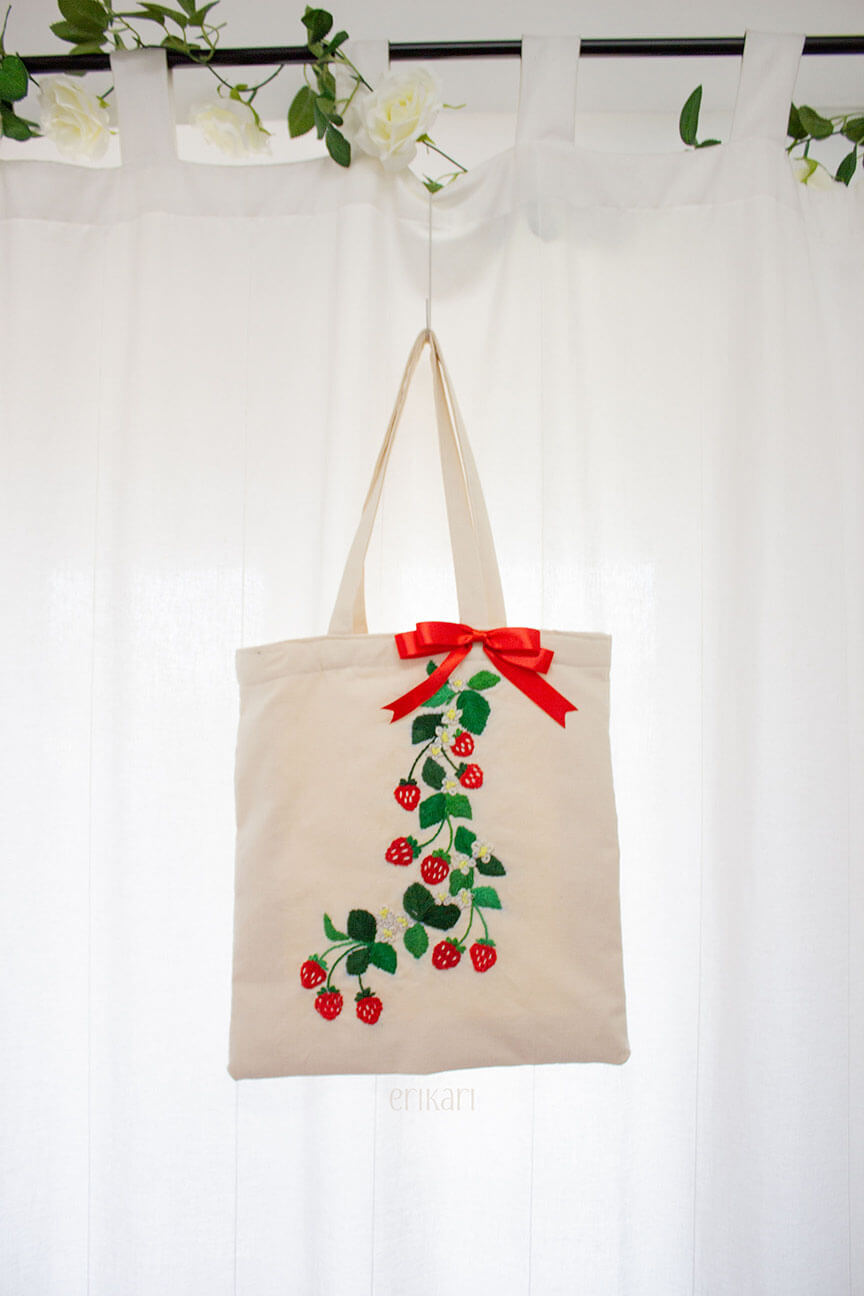
Once I was back home, all that was left was to add a red ribbon so it would look closer to the reference picture I drew in the beginning, and then take cute pictures!
I used some red ribbon I had around, which was 2cm wide. I’d prefer it thicker but this is what I had.
I burnt all the ends so they would not fray, then sew two hoops, and joined them with the ends using a smaller section folded in half in the middle. Then I stitched the ribbon in position so that it would look spread and hid the stitches inside the hoops of the ribbon.
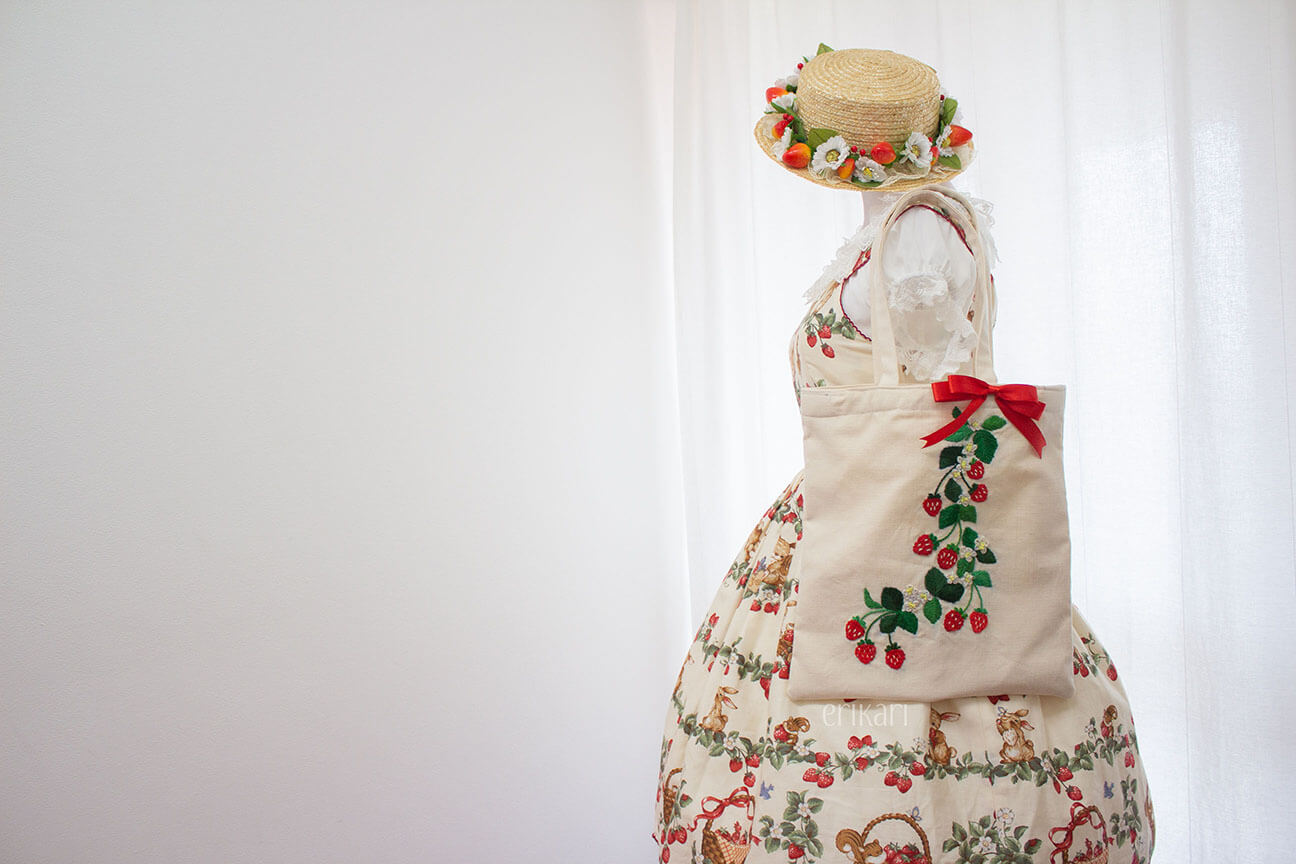
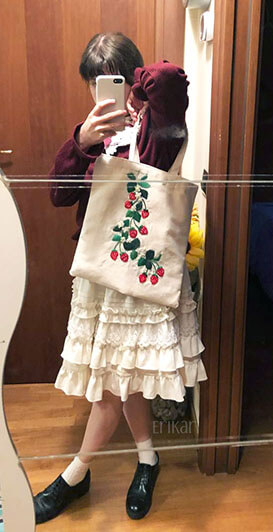
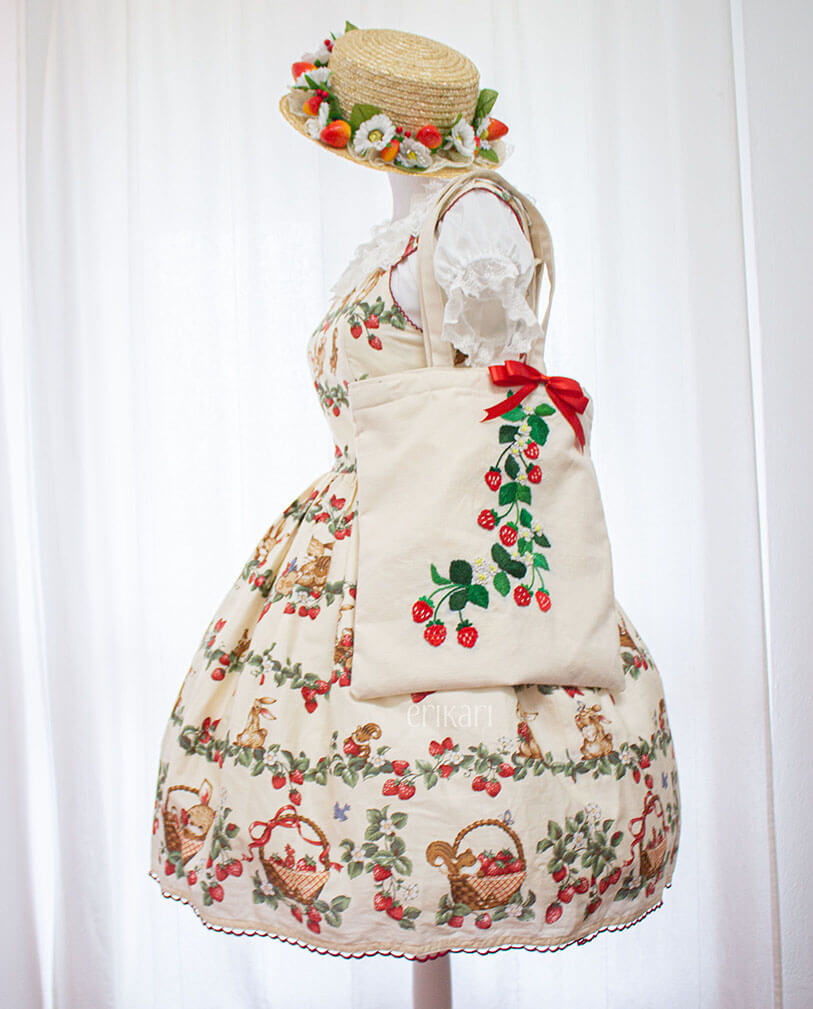
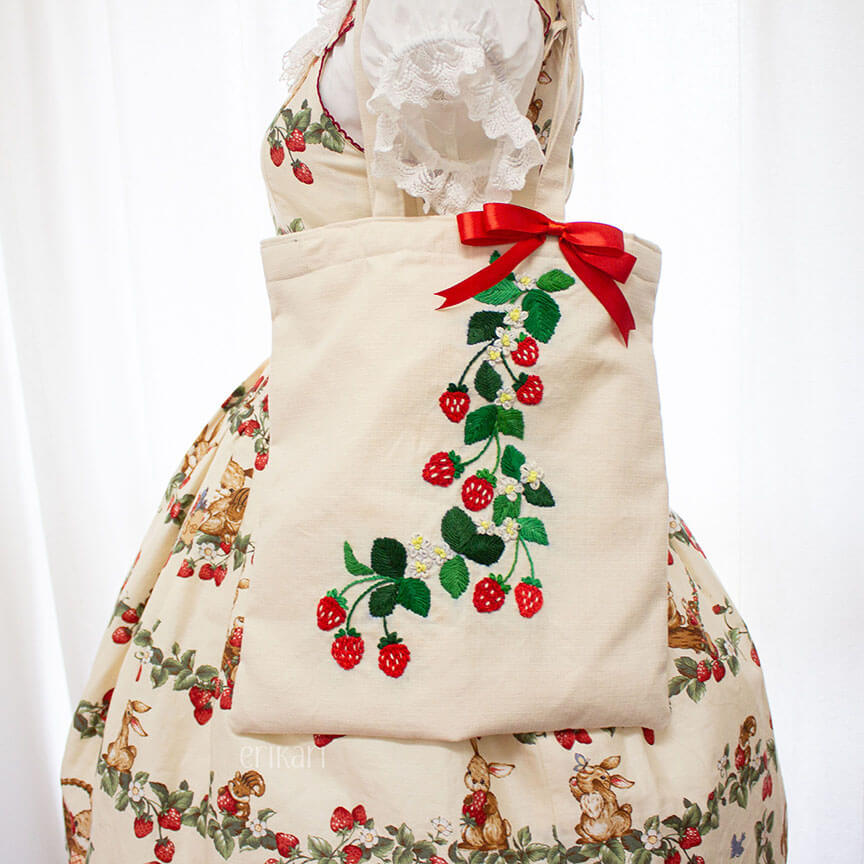
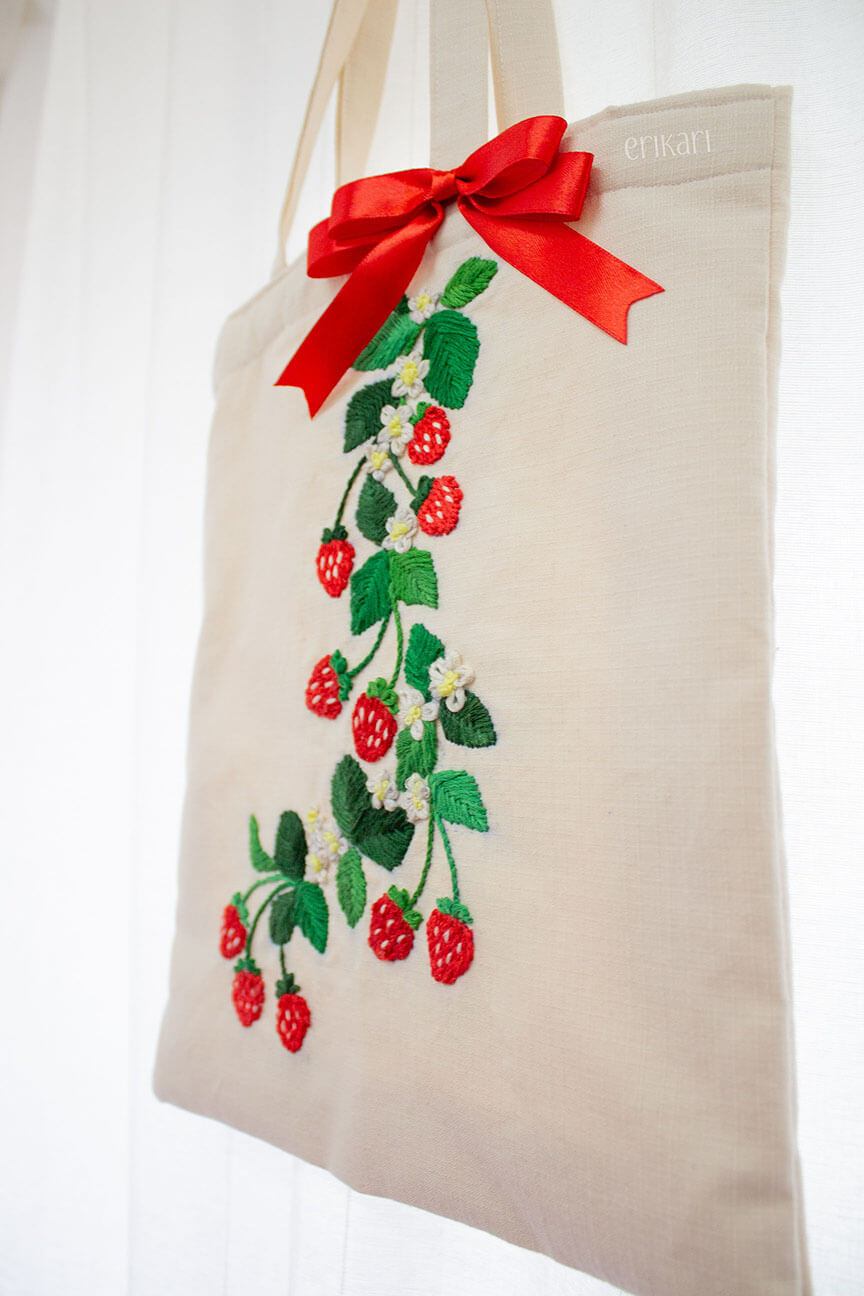
Here is the final version, coorded with my IW Strawberry Fields JSK in Ivory:


.
Overall, I’m quite satisfied with how it turned out! The bag is sturdy, nice comfortable, and it goes nicely with at least half of my wardrobe, which is way more than all the other tote bags combined.
If you found this post interesting, please consider leaving a comment! And thank you for reading till the end.
Great tutorial!
Thank you 😀